Setting Up Your Services
Services are added to Prodvana by creating a .pvn.yaml file that creates a reference between your existing Kubernetes configurations and the Application you created above.
Name Your Configuration File my-service.pvn.yaml
Create a .pvn.yaml file in the same directory that your Kubernetes configurations exist
service:
  name: service-name
  application: application-name-from-above
  kubernetesConfig:
    type: KUBERNETES
    local:
      path: . # This tells Prodvana to use all the files in cwd
  parameters:
    - name: image
      required: true
      dockerImage:
        imageRegistryInfo:
          containerRegistry: my-registry-name
          imageRepository: my-repository
You can reference a relative path from the "path" variable. There are many ways to configure this if your directory structure is not similar to the example. Please reach out to us on Discord for help if your directory layout requires template variables.
In this configuration we are also defining a variable called "image" we will use in the Kubernetes configuration.
Replace Your "image" variable in your Kubernetes Configuration
We are using the image variable from the previous step in this configuration file. Prodvana will substitute this with the provided image name from CI or with what is selected in an "On Demand" deployment.
apiVersion: apps/v1
kind: Deployment
metadata:
  name: my-deployment
spec:
  replicas: 1
  selector:
    matchLabels:
      app: my-deployment
  template:
    metadata:
      labels:
        app: my-deployment
    spec:
      containers:
        - name: api
          image: "{{.Params.image}}" # PUT THIS IN
Apply Your Application Configuration
pvnctl configs apply my-service.pvn.yaml
Validate Your Configuration In Prodvana's WebUI
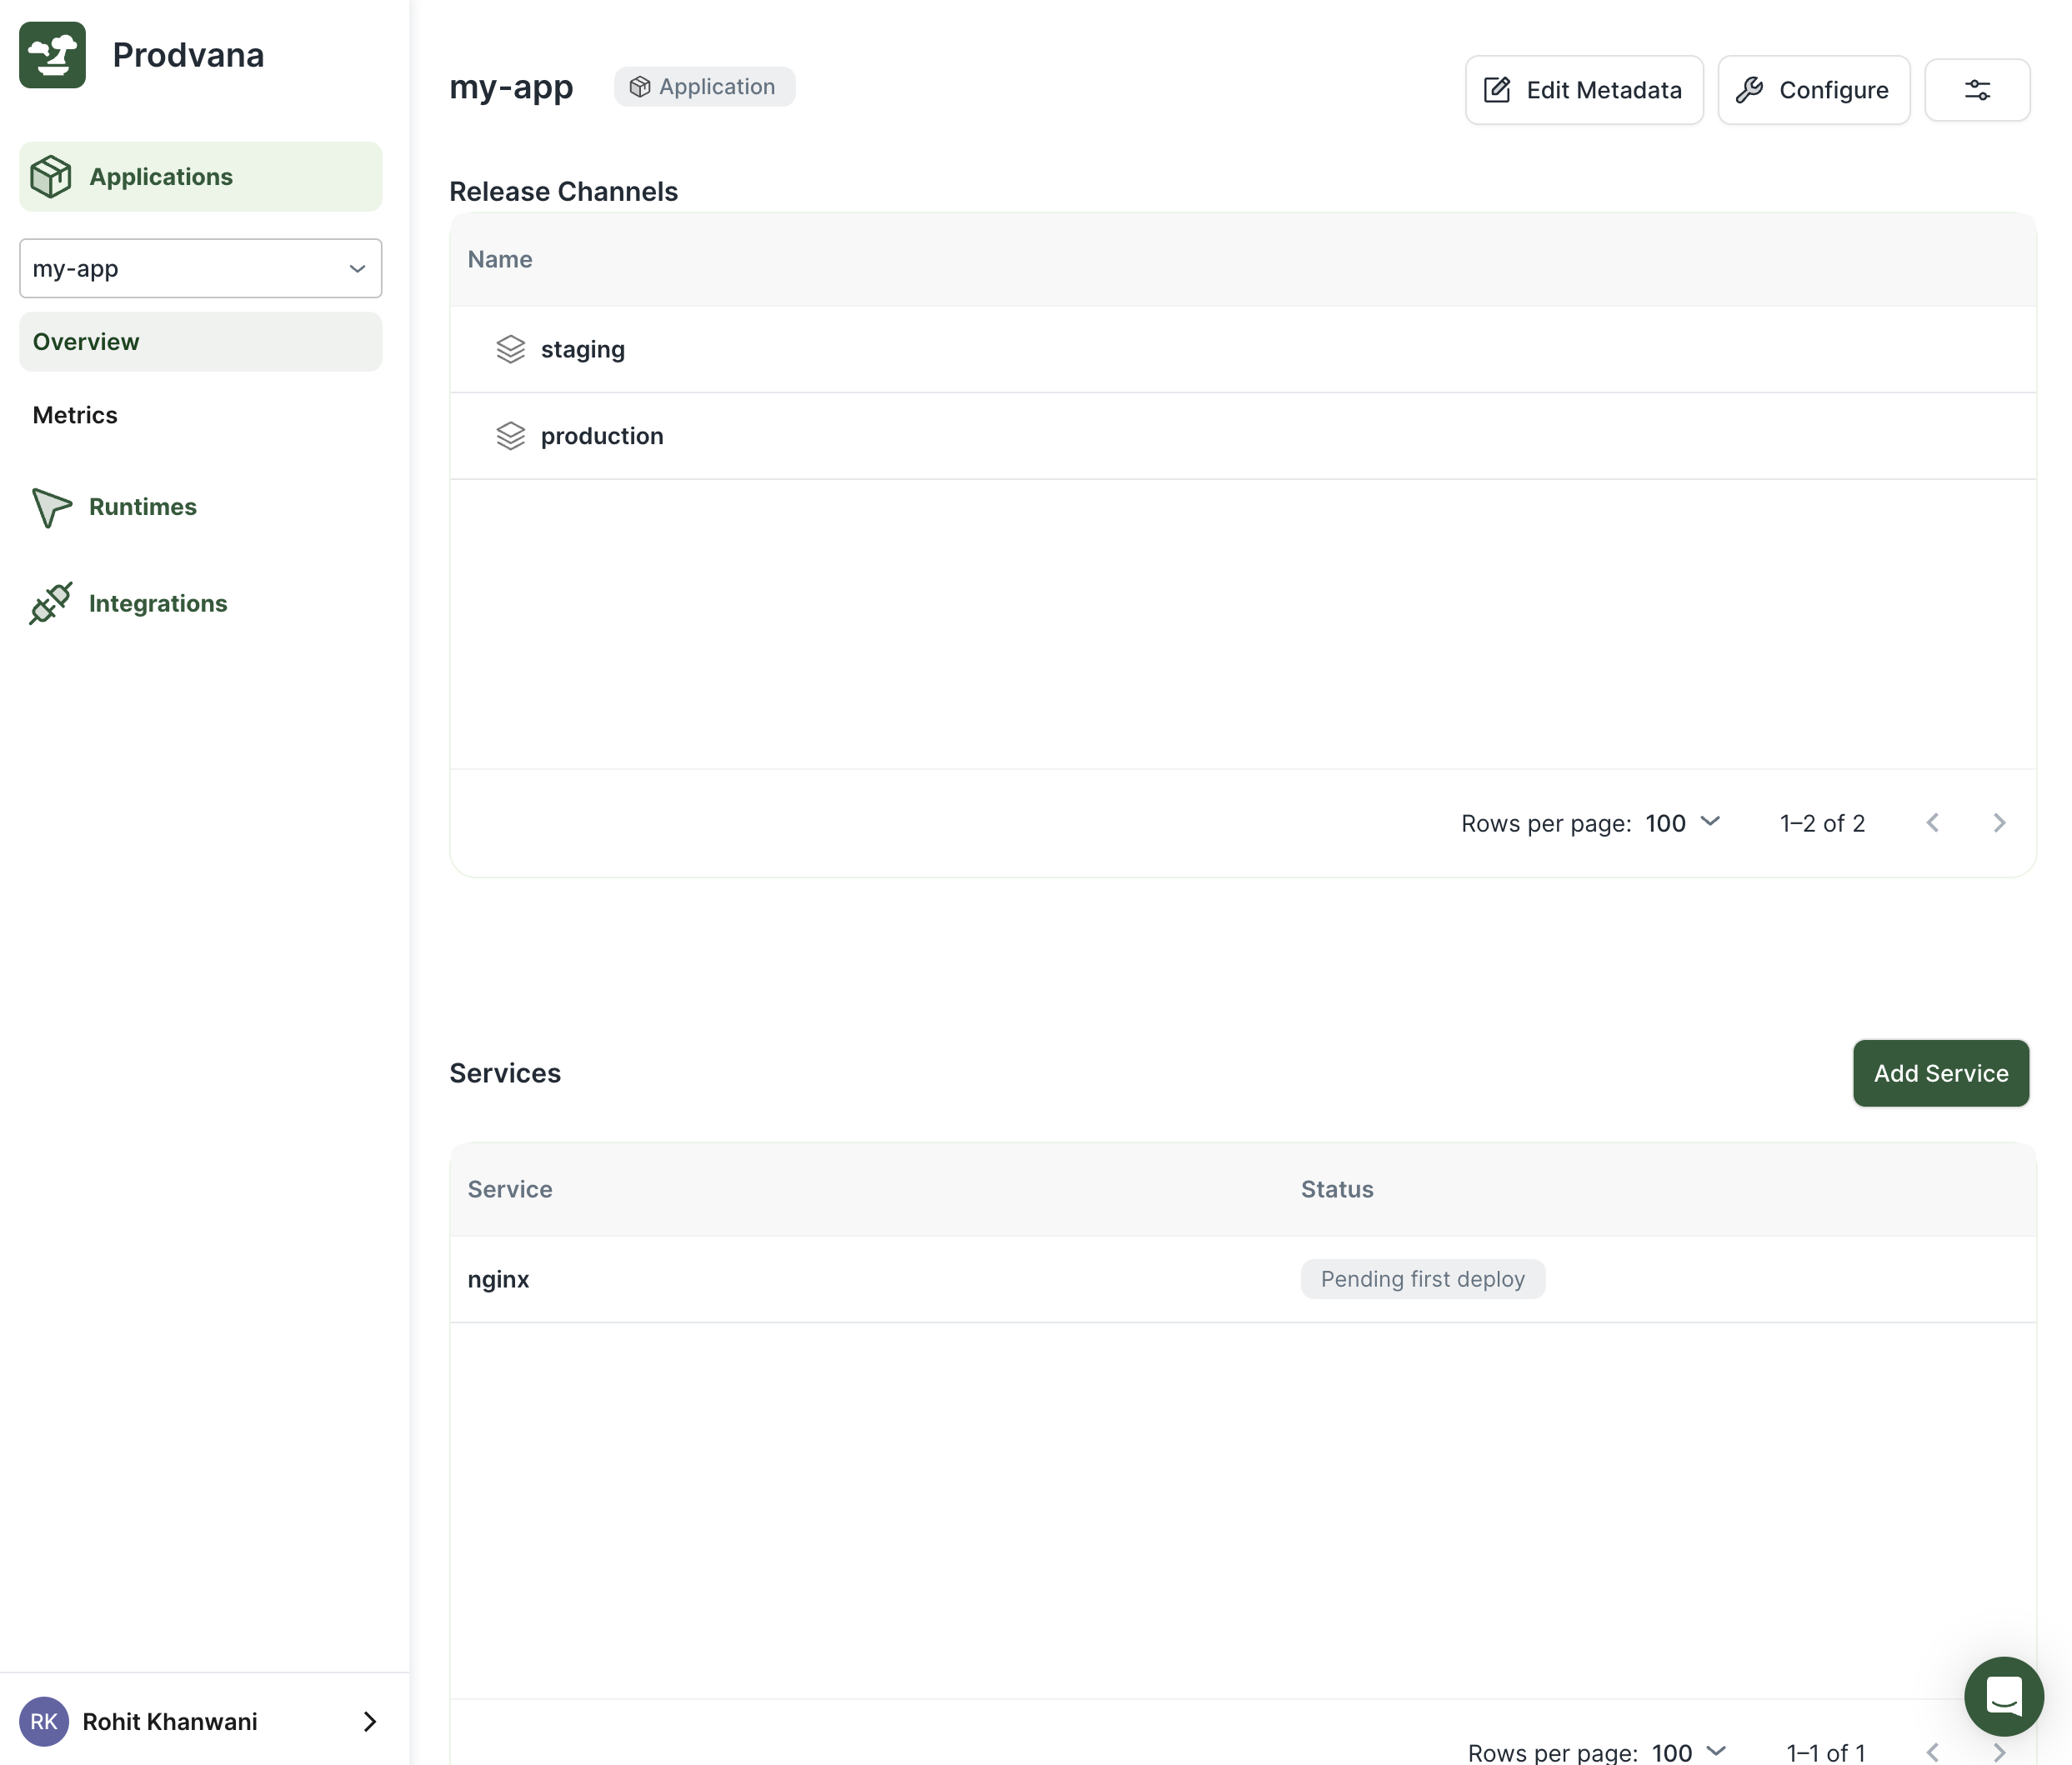
Using the left hand navigation bar you can select your Application and see that it is "Pending first release"

Updated over 1 year ago
