Setting Up Your Application
We will refer to the Runtimes you linked in the previous step as well as decide on the name you are calling your Application.
Create a file where you have decided to save your Application configurations
Name your configuration .pvn.yaml
Enter configuration for your Runtimes and Deployment Flow
You can refer to your worksheet to see if you selected "On Demand" or "Approvals Required."
If you have existing namespaces you can specify that these are used
You can refer to the documentation the documentation for specifying namespaces in your application configuration.
application:
  name: my-app # replace with your desired app name
  releaseChannels:
  - name: production
    runtimes:
    - runtime: production-runtime  # kubernetes cluster
application:
  name: my-app # replace with your desired app name
  releaseChannels:
  - name: staging
    runtimes:
    - runtime: staging-runtime  # pick runtime where you are running staging
  - name: production
    runtimes:
    - runtime: production-runtime  # pick runtime where you are running production
    preconditions:
    - releaseChannelStable:
        releaseChannel: staging
    - manualApproval: {}
application:
  name: my-app # replace with your desired app name
  releaseChannels:
  - name: staging
    runtimes:
    - runtime: staging-runtime
      containerOrchestration:
        k8s:
          namespace: my-existing-staging-namespace
  - name: production
    runtimes:
    - runtime: production-runtime  # can be same or different runtime as previous step
      containerOrchestration:
        k8s:
          namespace: my-existing-production-namespace
    preconditions:
    - releaseChannelStable:
        releaseChannel: staging # This requires an approval before releaseing to production
    - manualApproval: {}
Apply Your Application Configuration
pvnctl configs apply my-aplication.pvn.yaml
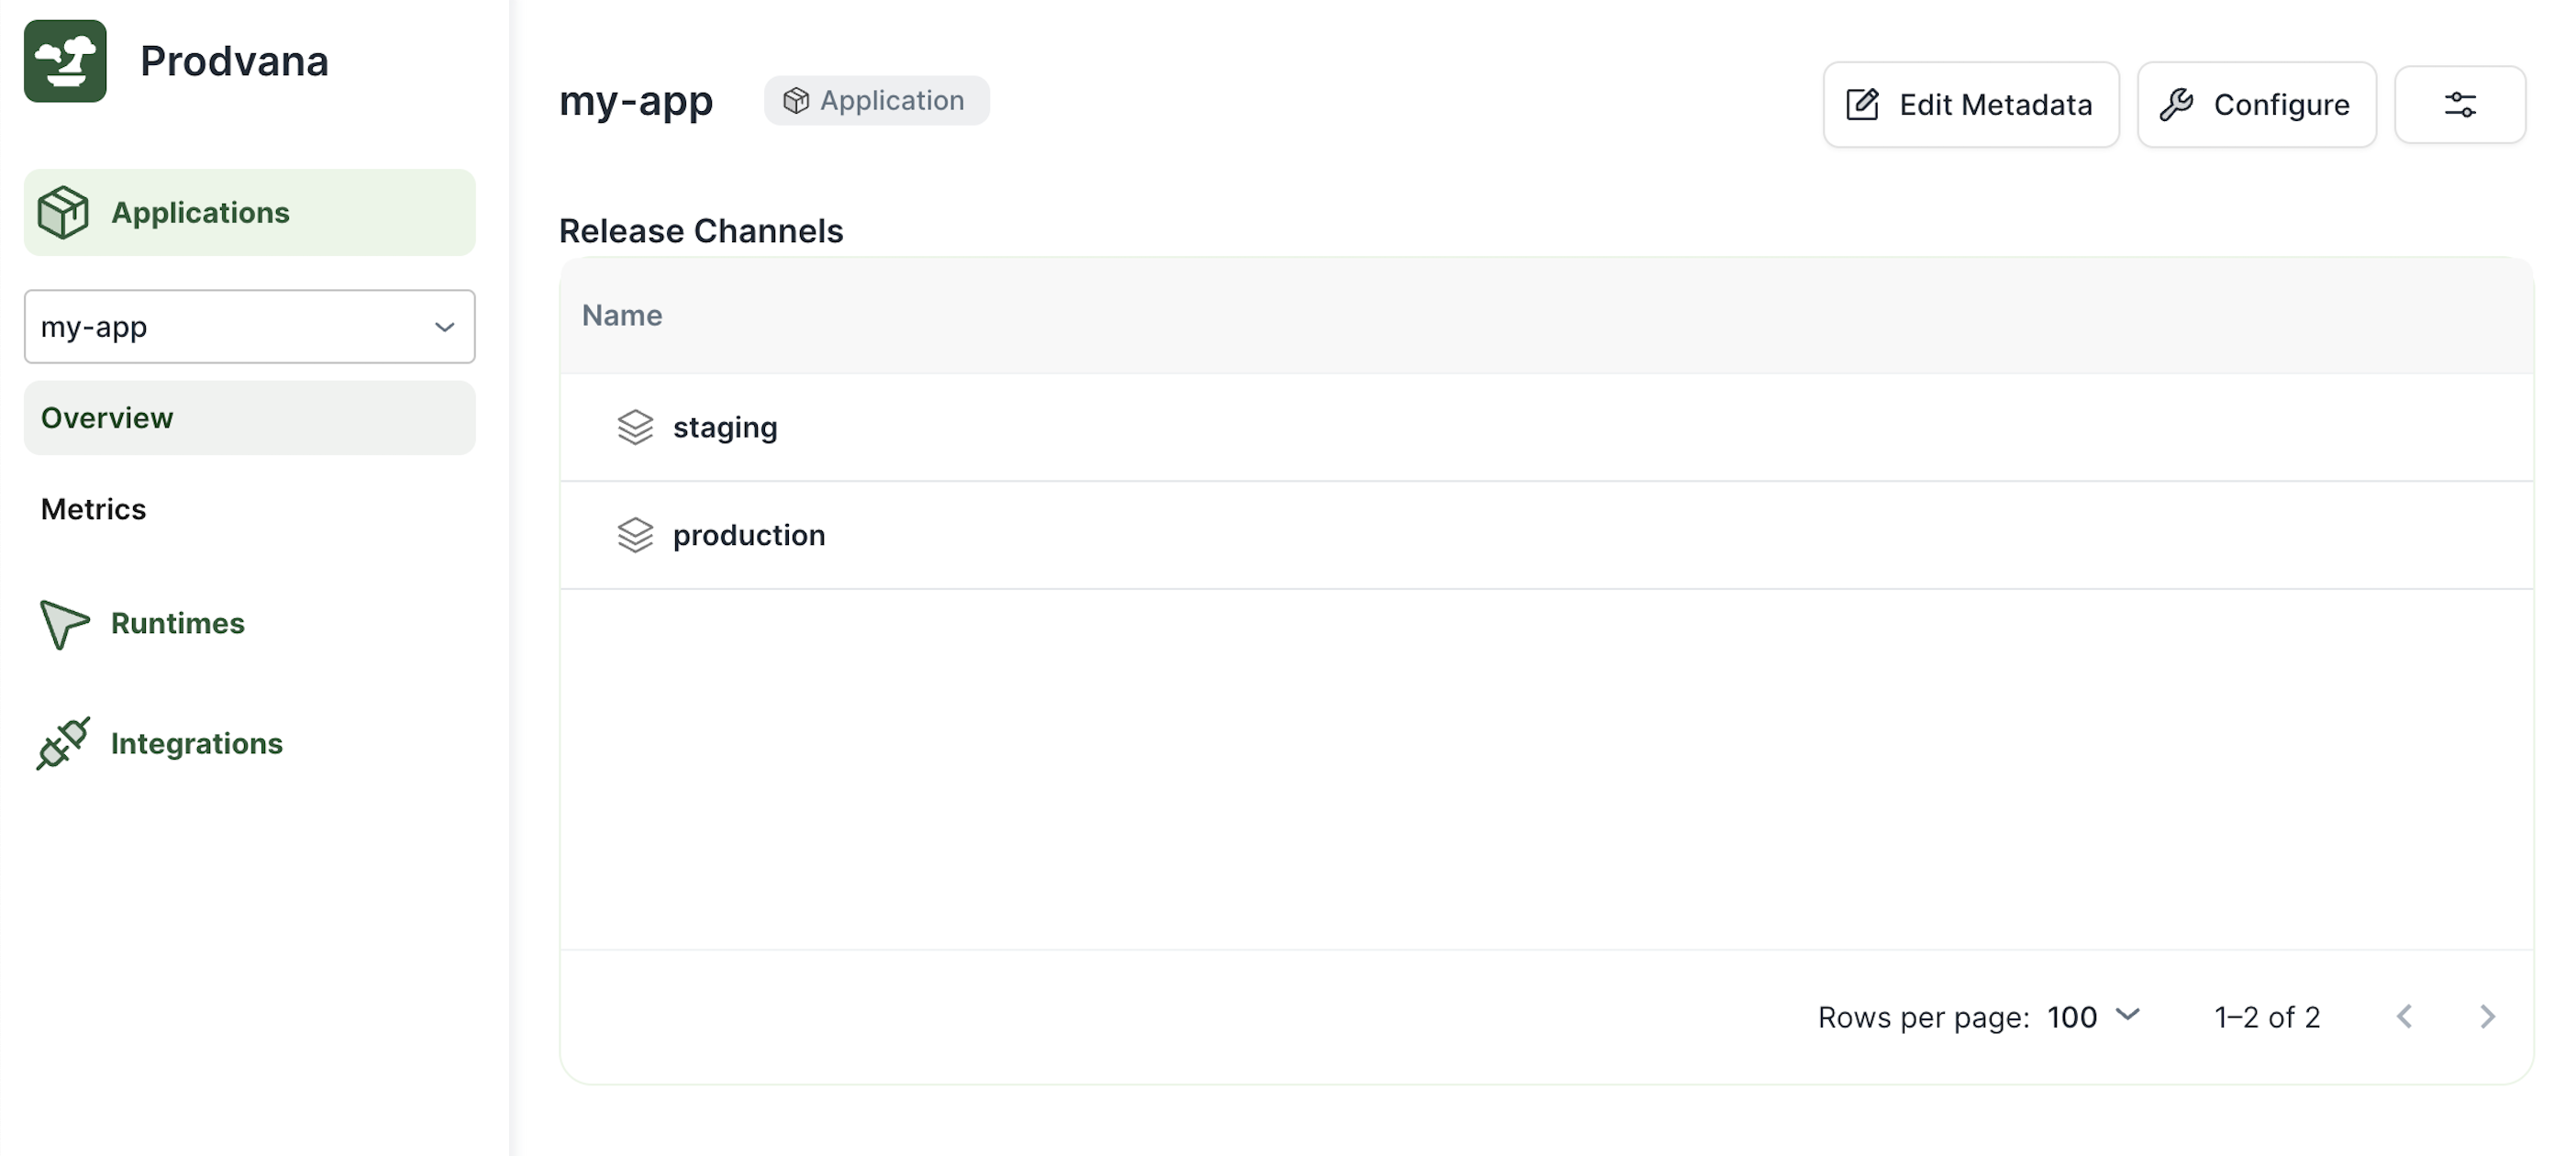
View Your Application In Prodvana's Web UI

Updated over 1 year ago
What’s Next
