
Using Kubernetes Configurations
Use Kubernetes Configurations to deploy Nginx
Prodvana supports Services defined using raw Kubernetes configurations, a great way to bring an existing or external Service and take advantage of Prodvana's Dynamic Delivery engine.
In this tutorial, you will define a service using Kubernetes configurations.
Prerequisites
- Go through the standard Prodvana tutorial to ensure that you have a Runtime linked and an Application created.
- Install
pvnctl.
1. Create a Kubernetes deployment.yaml
First, let's create a simple deployment.yaml file.
apiVersion: apps/v1
kind: Deployment
metadata:
  name: nginx-deployment
spec:
  selector:
    matchLabels:
      app: nginx
  replicas: 1
  template:
    metadata:
      labels:
        app: nginx
    spec:
      containers:
        - name: nginx
          image: nginx:1.14.2
          ports:
            - containerPort: 80
For this tutorial, we are using a relatively simple example. Your actual code can be as complex and contain as many and/or diverse Kubernetes resources as needed.
Prodvana will manage the namespace.
Prodvana is responsible for and will replace any namespace settings in Kubernetes configs. This ensures resources are created in namespaces consistent with the selected Application and Release Channels.
2. Create the Prodvana Config File
In the same directory you have your Kubernetes files, create a Prodvana config file:
service:
  name: nginx
  application: my-app
  kubernetesConfig:
    type: KUBERNETES
    local:
      path: .
Your directory structure should now look like this:
nginx.pvn.yaml
deployment.yaml
3. Apply the Prodvana Config File
Use pvnctl to apply the config file.
pvnctl configs apply nginx.pvn.yaml
4. Deploy Your Service
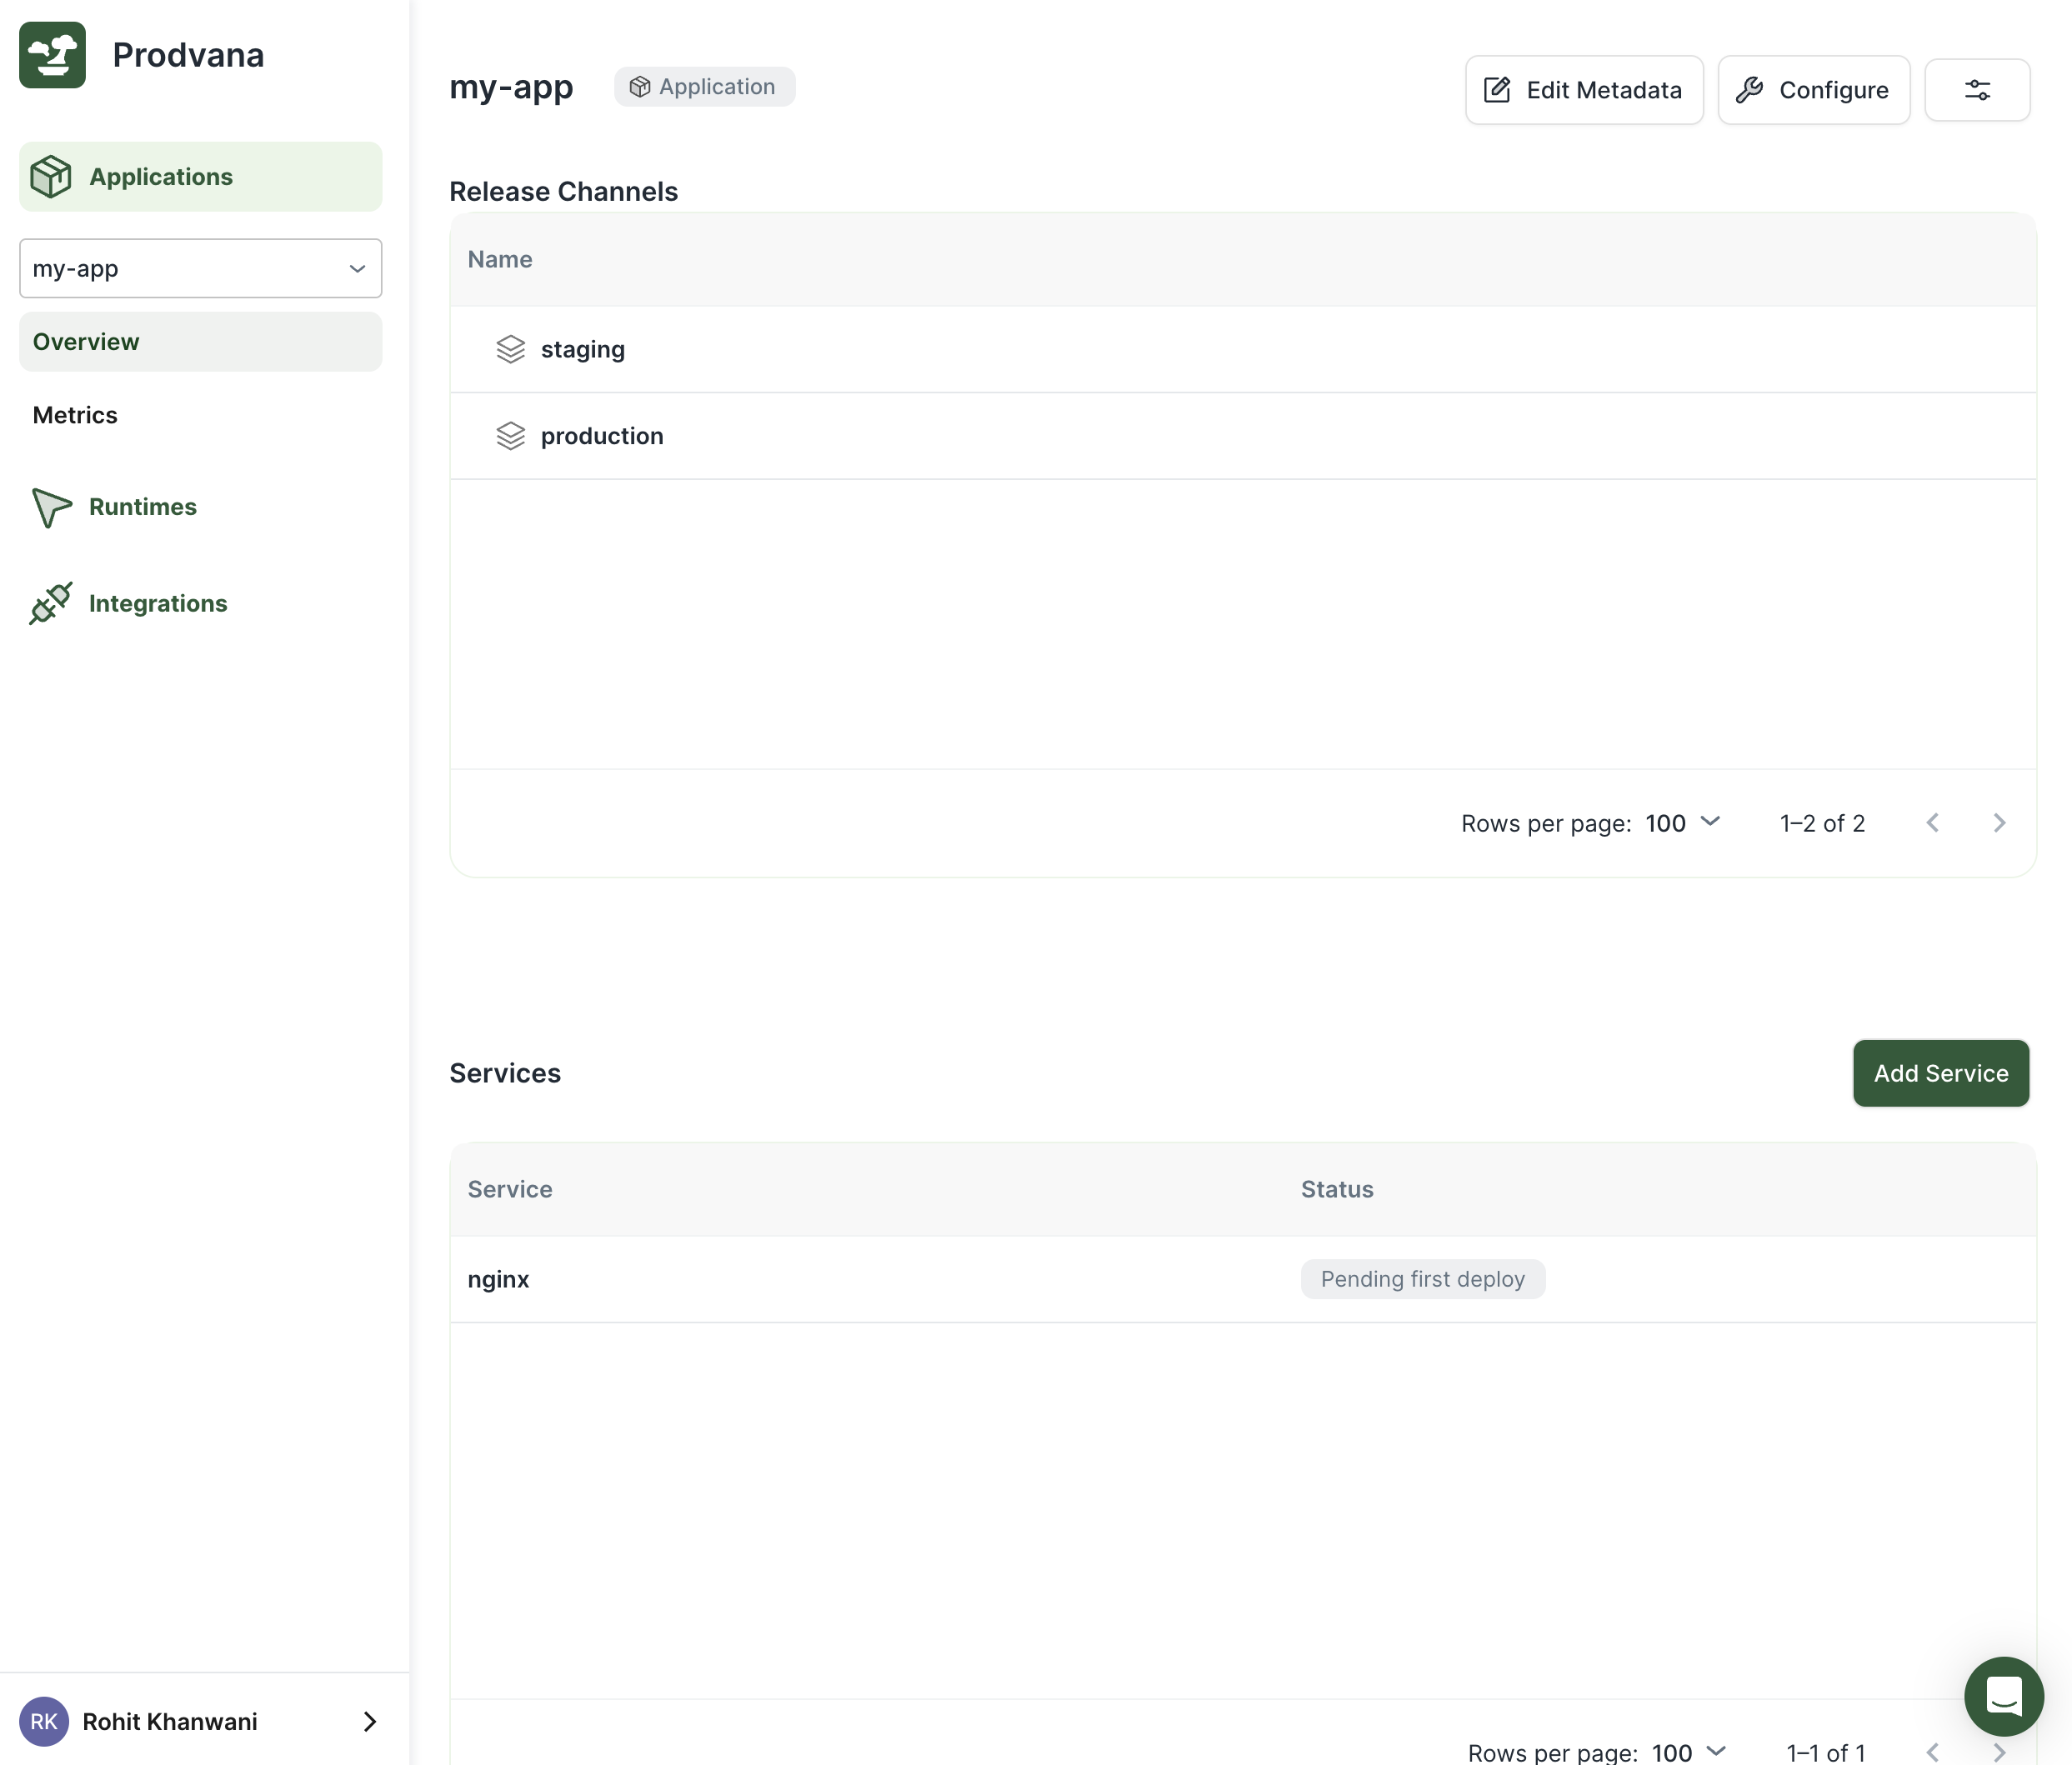
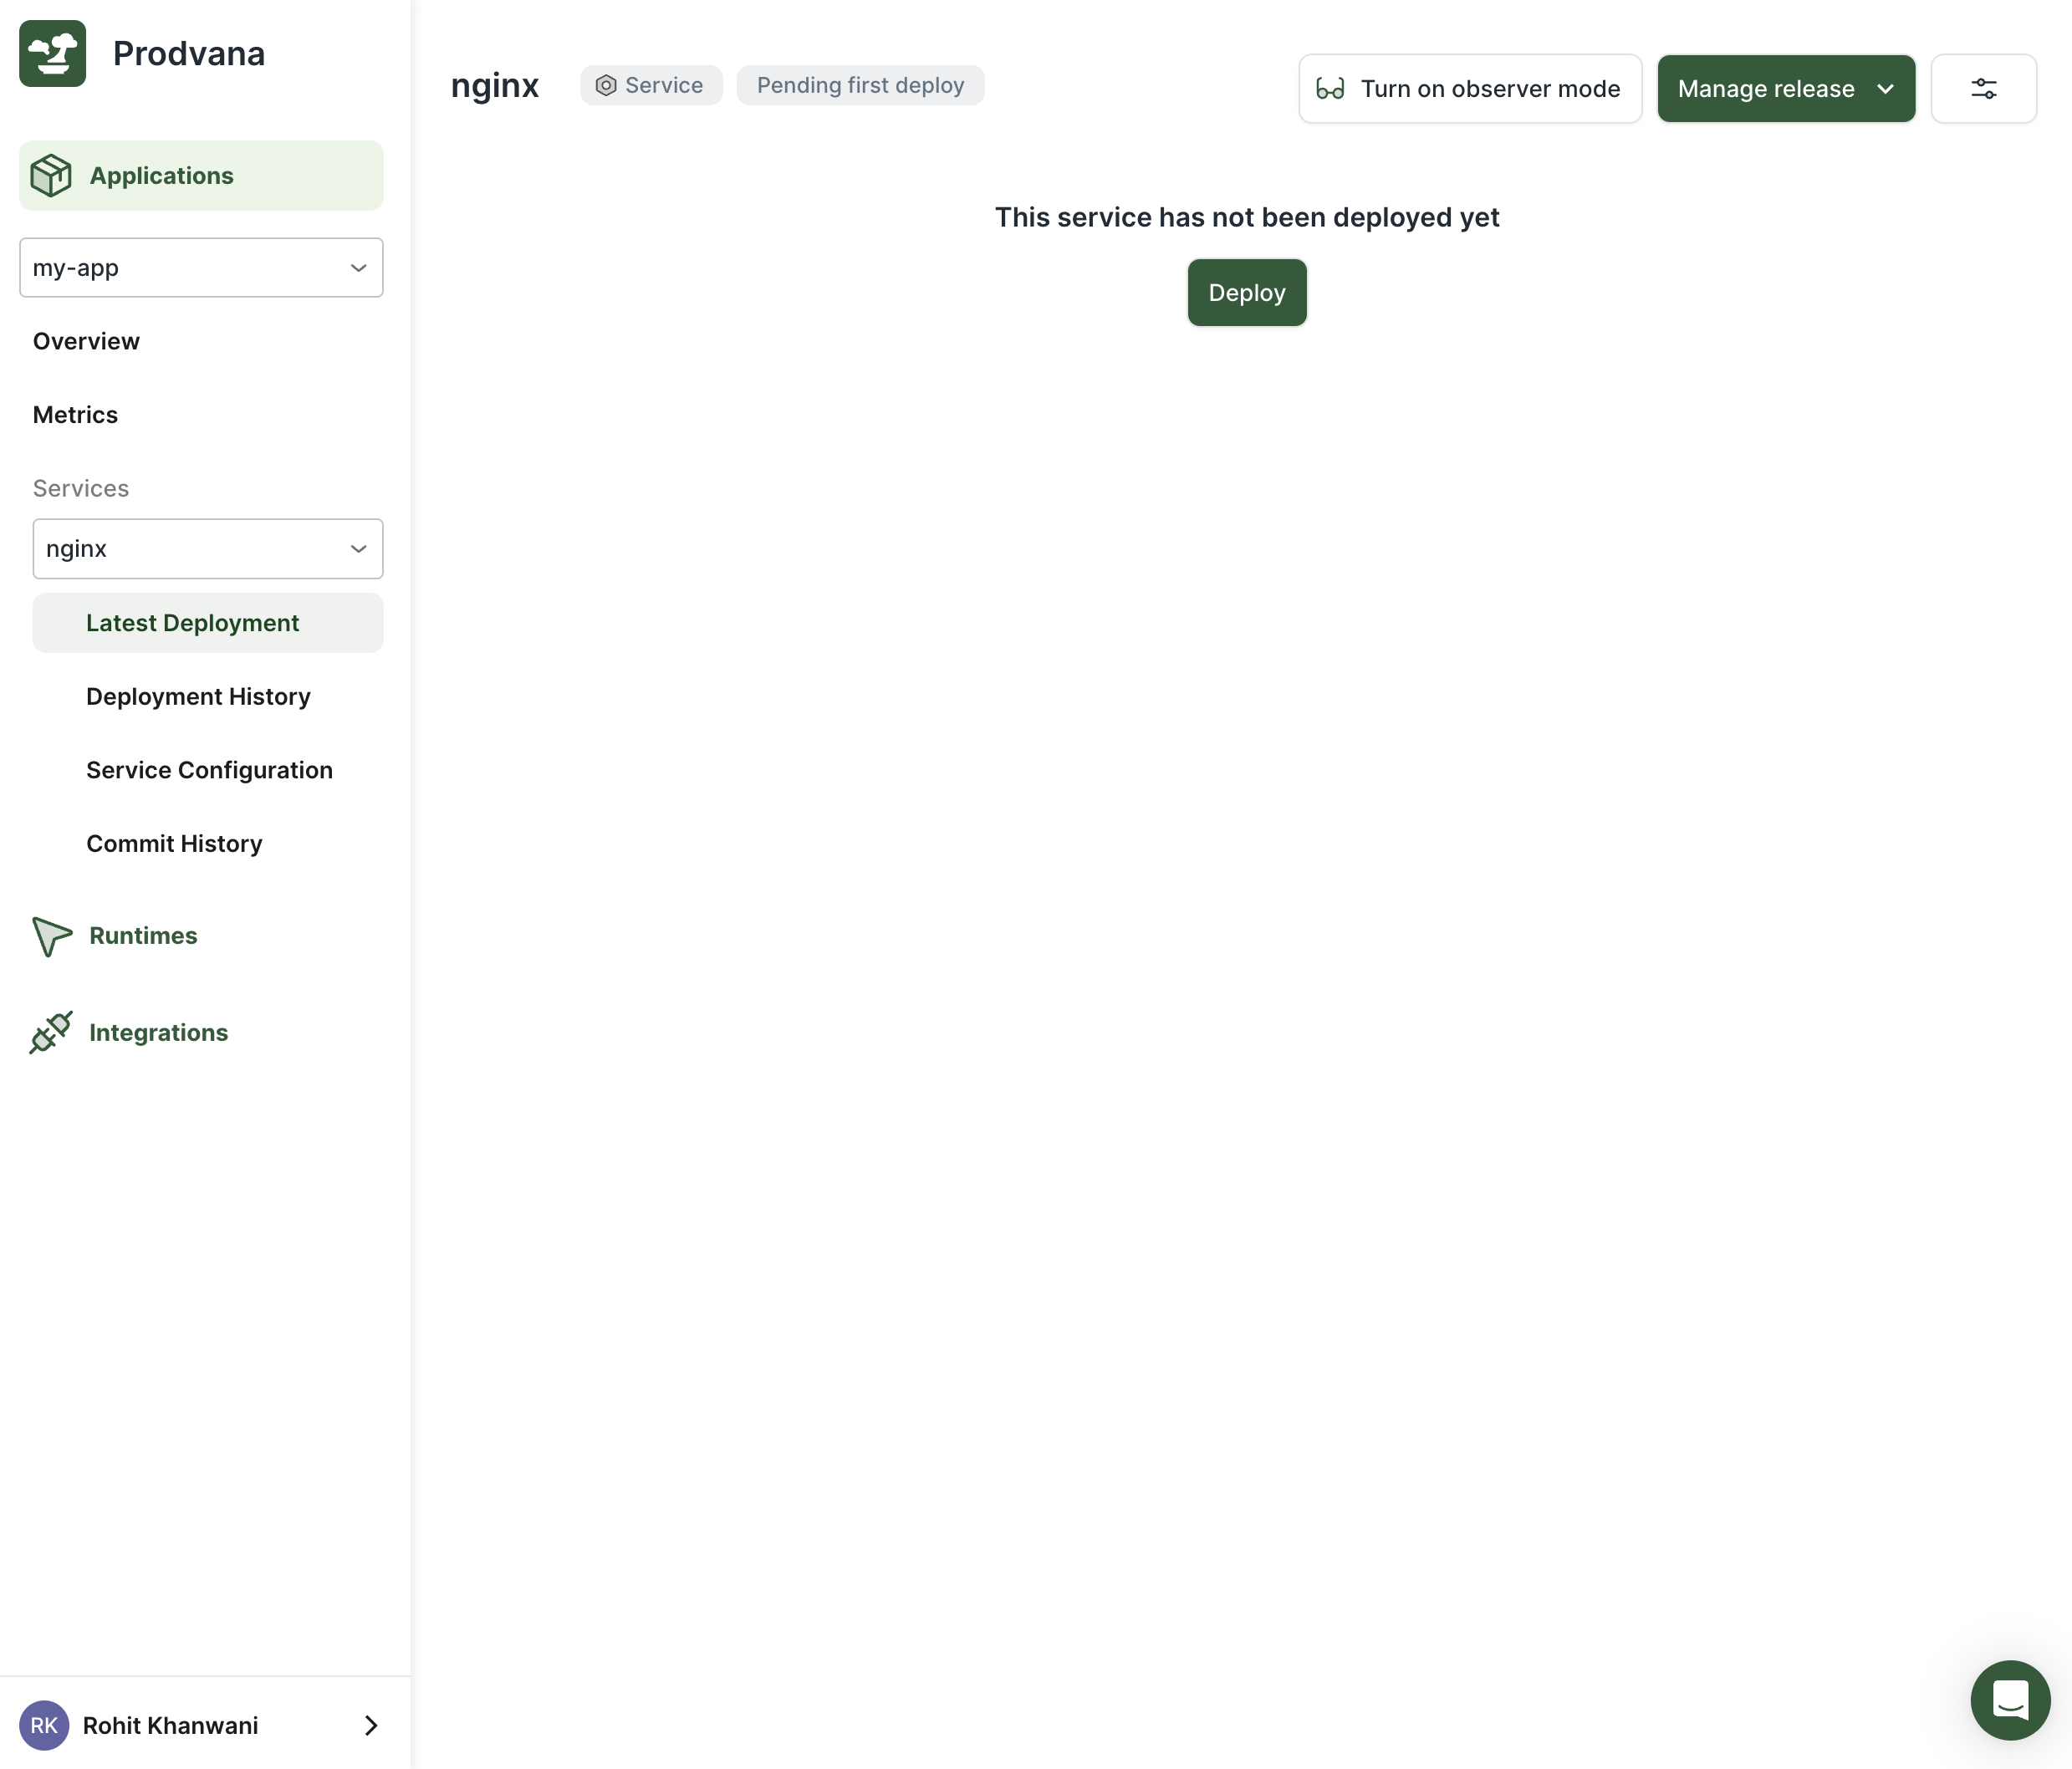
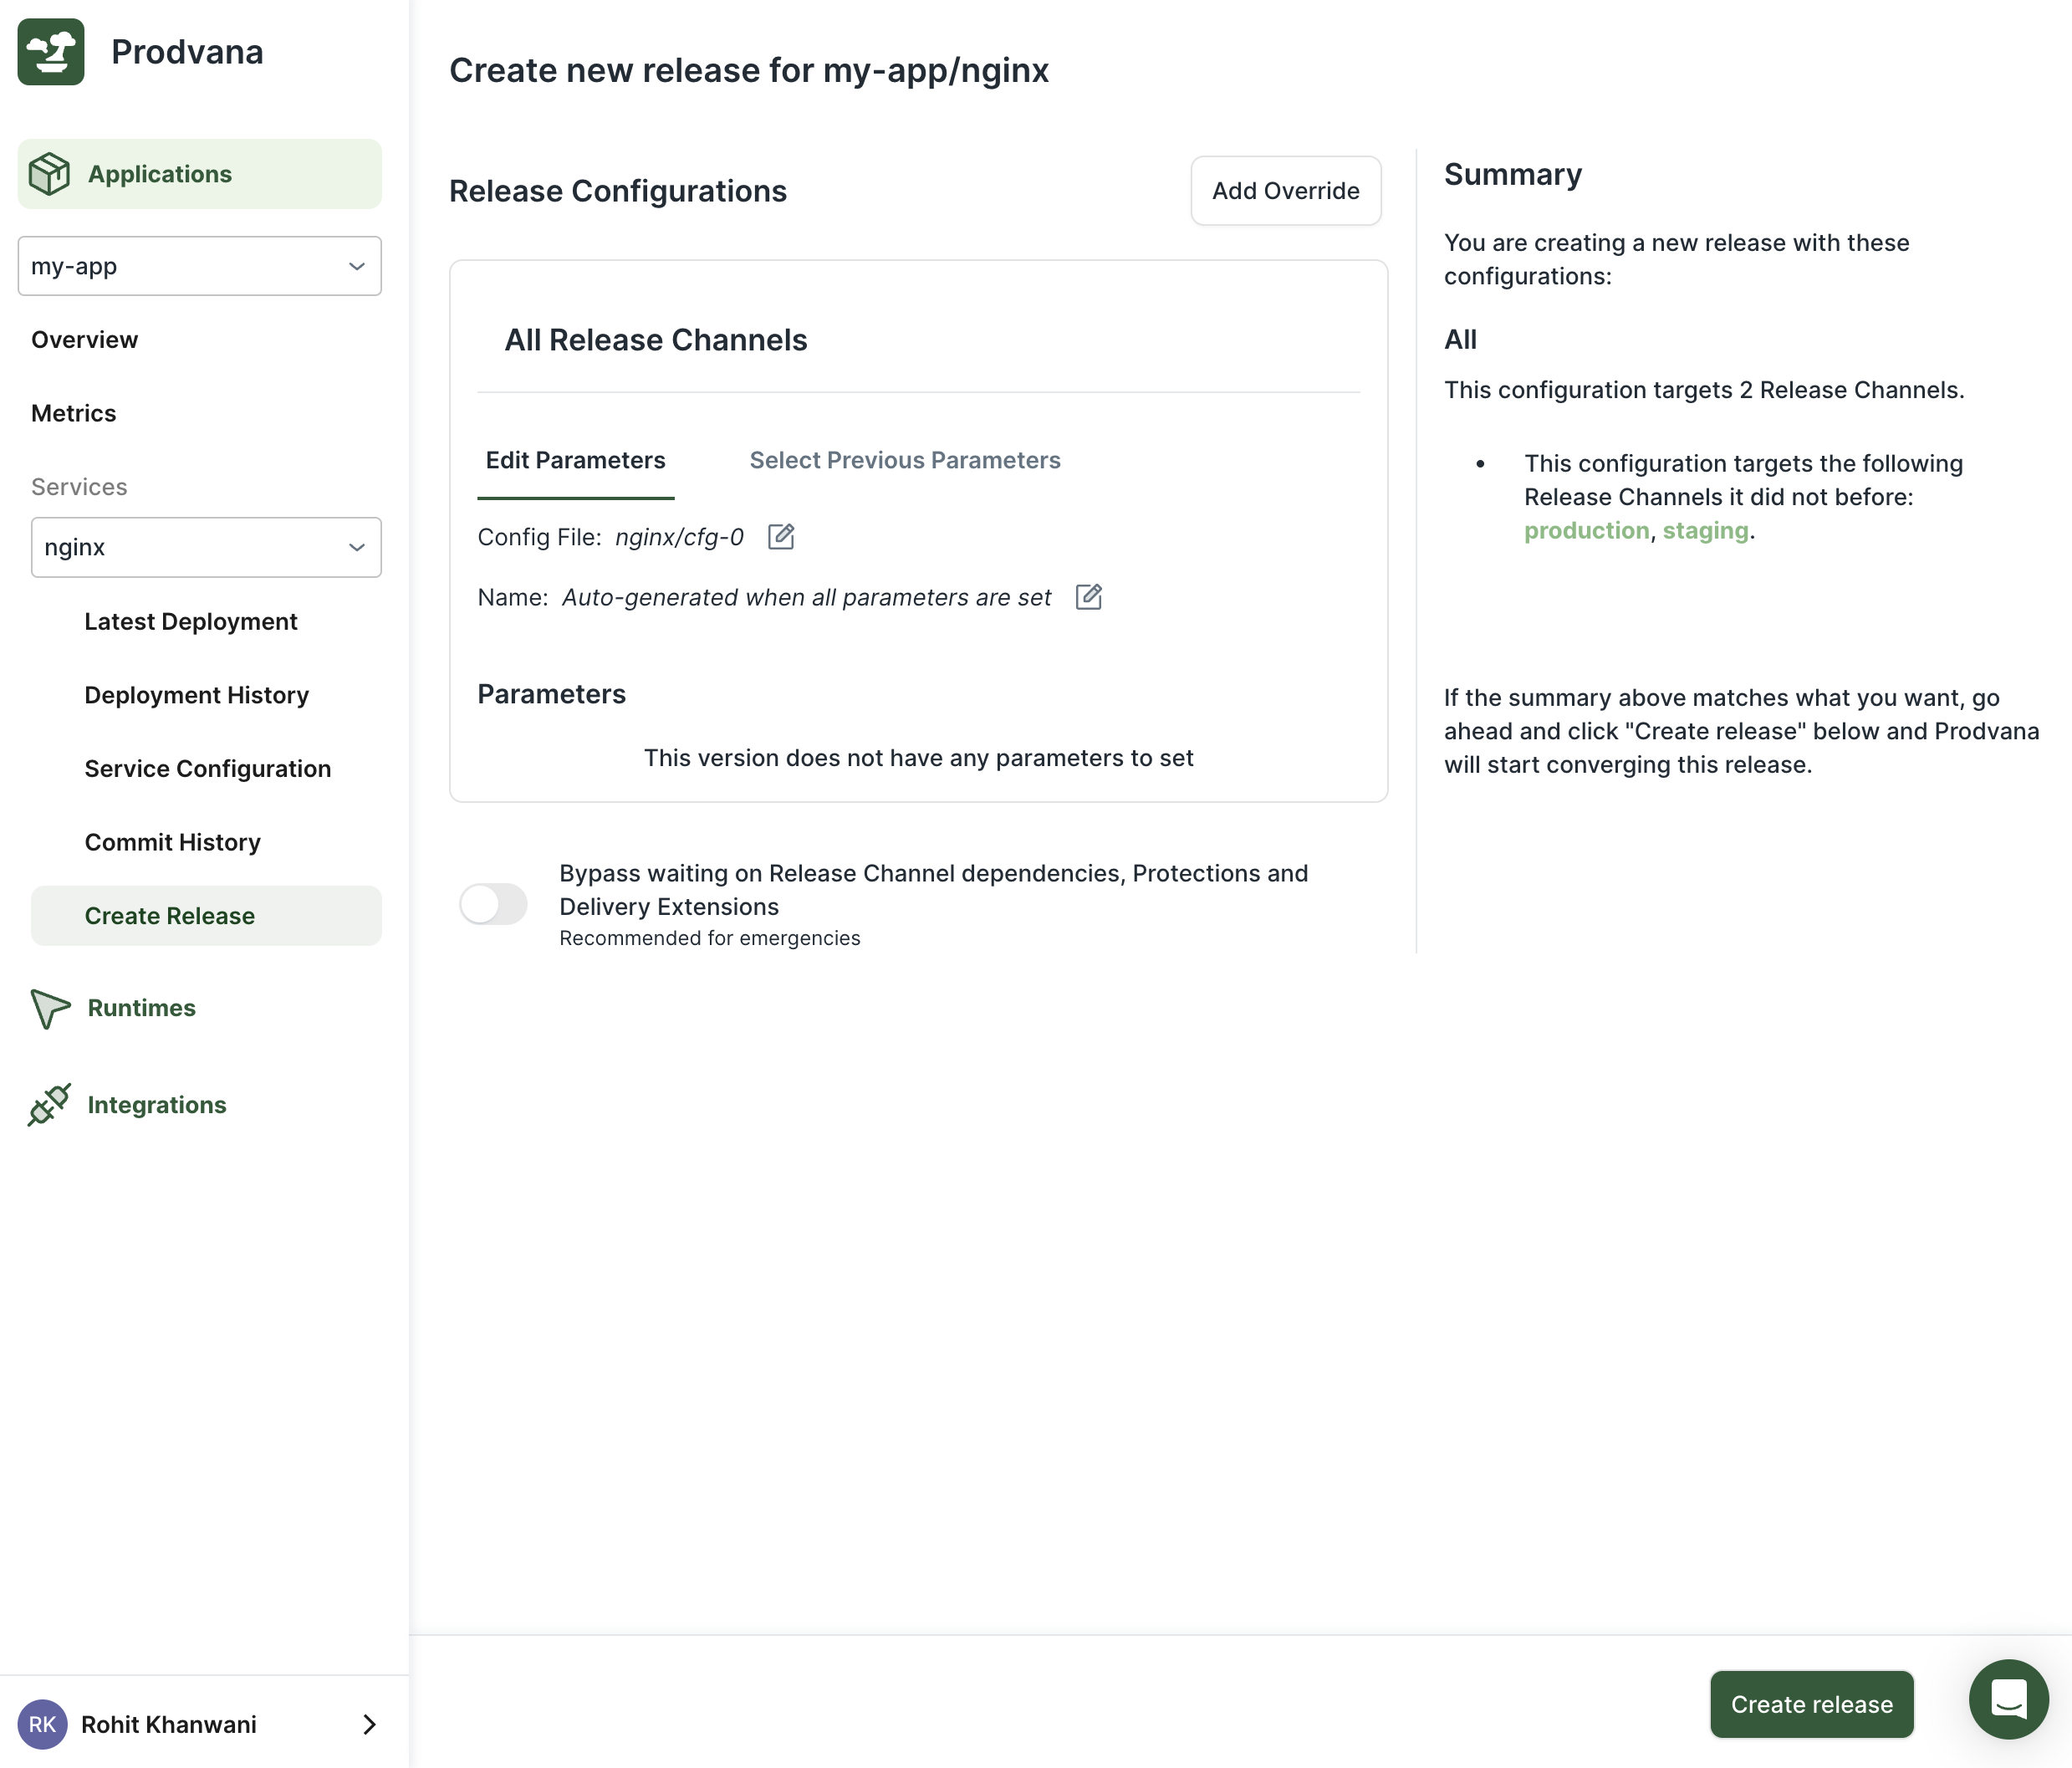
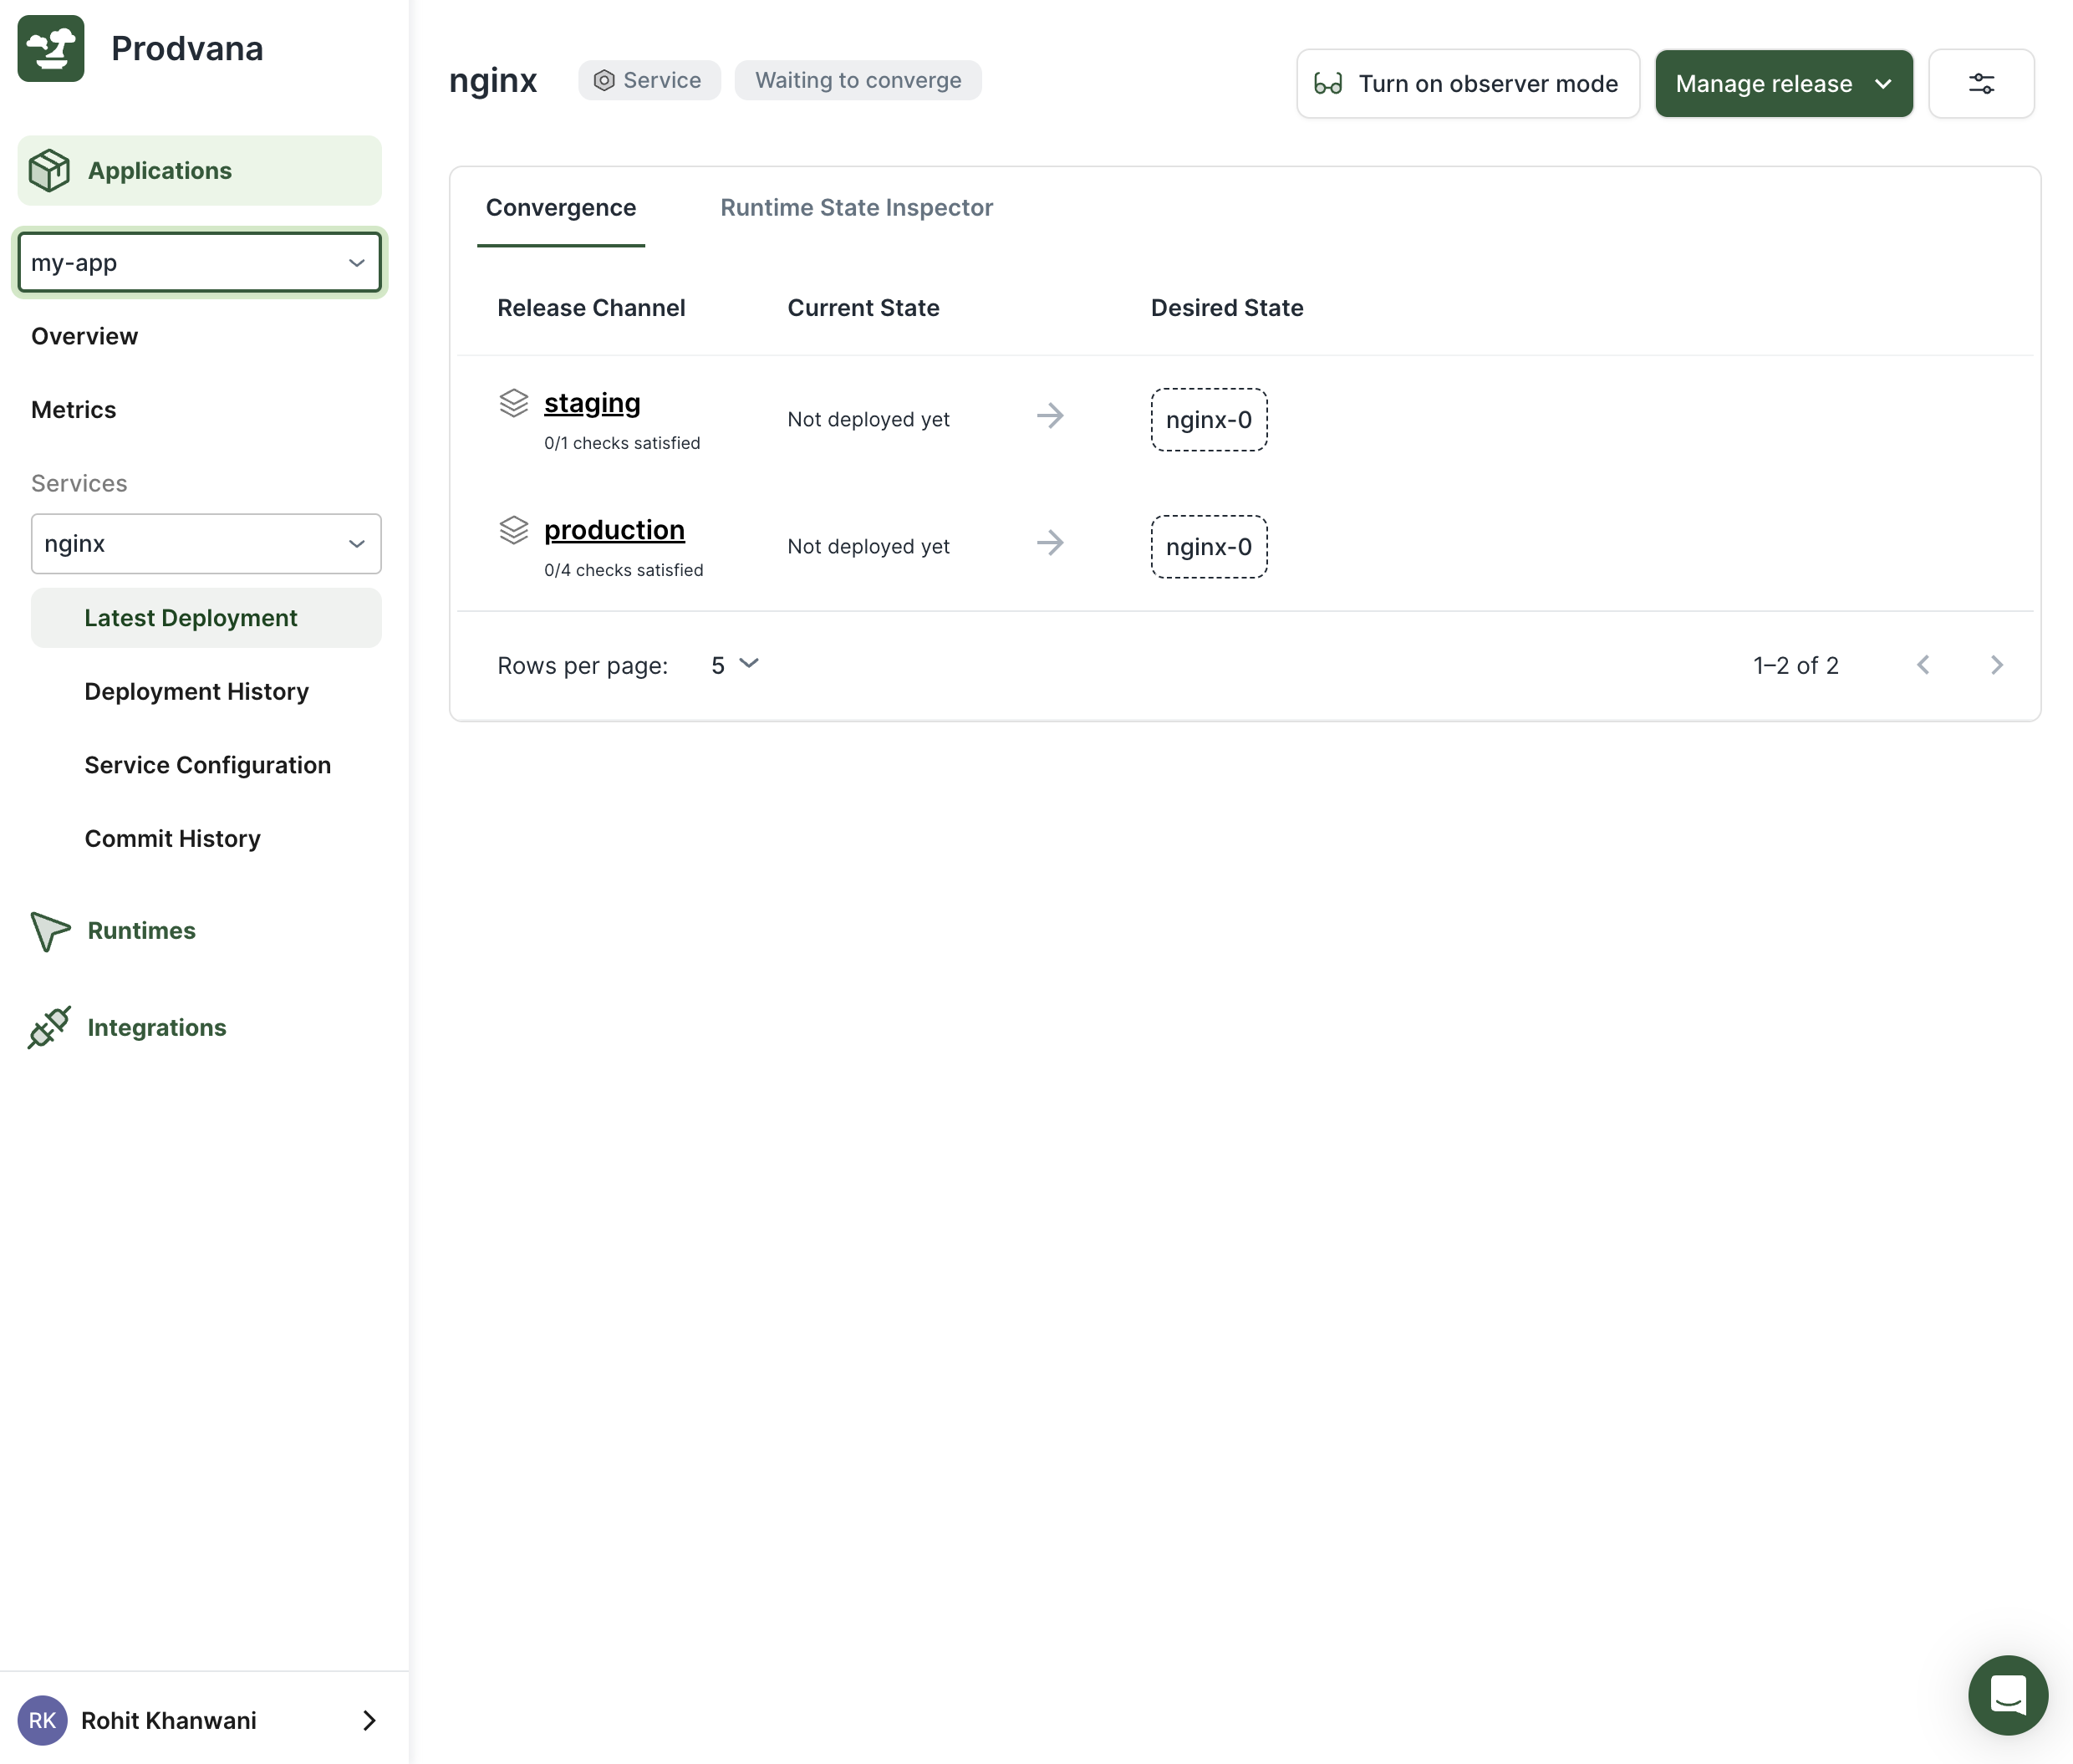
Navigate to the Prodvana UI at my-demo-organization.runprodvana.com -> Applications -> your app -> nginx to see your Service created. Click on deploy and follow the on-screen instructions to deploy for the first time. Once prompted, approve the deployment to production.
Congratulations!
You have now deployed your first Service using Kubernetes through Prodvana.
5. Allowing Docker Images to Be Selected From the Web Interface
Continue if you want to enable web deployments!
You can stop here however, any changes to the Service, including updating images, must go through editing the kustomize files. That may not be what you want. Instead, you may want simple changes like images to be done directly in the Prodvana web interface.
Using Parameters to connect configuration to the web.
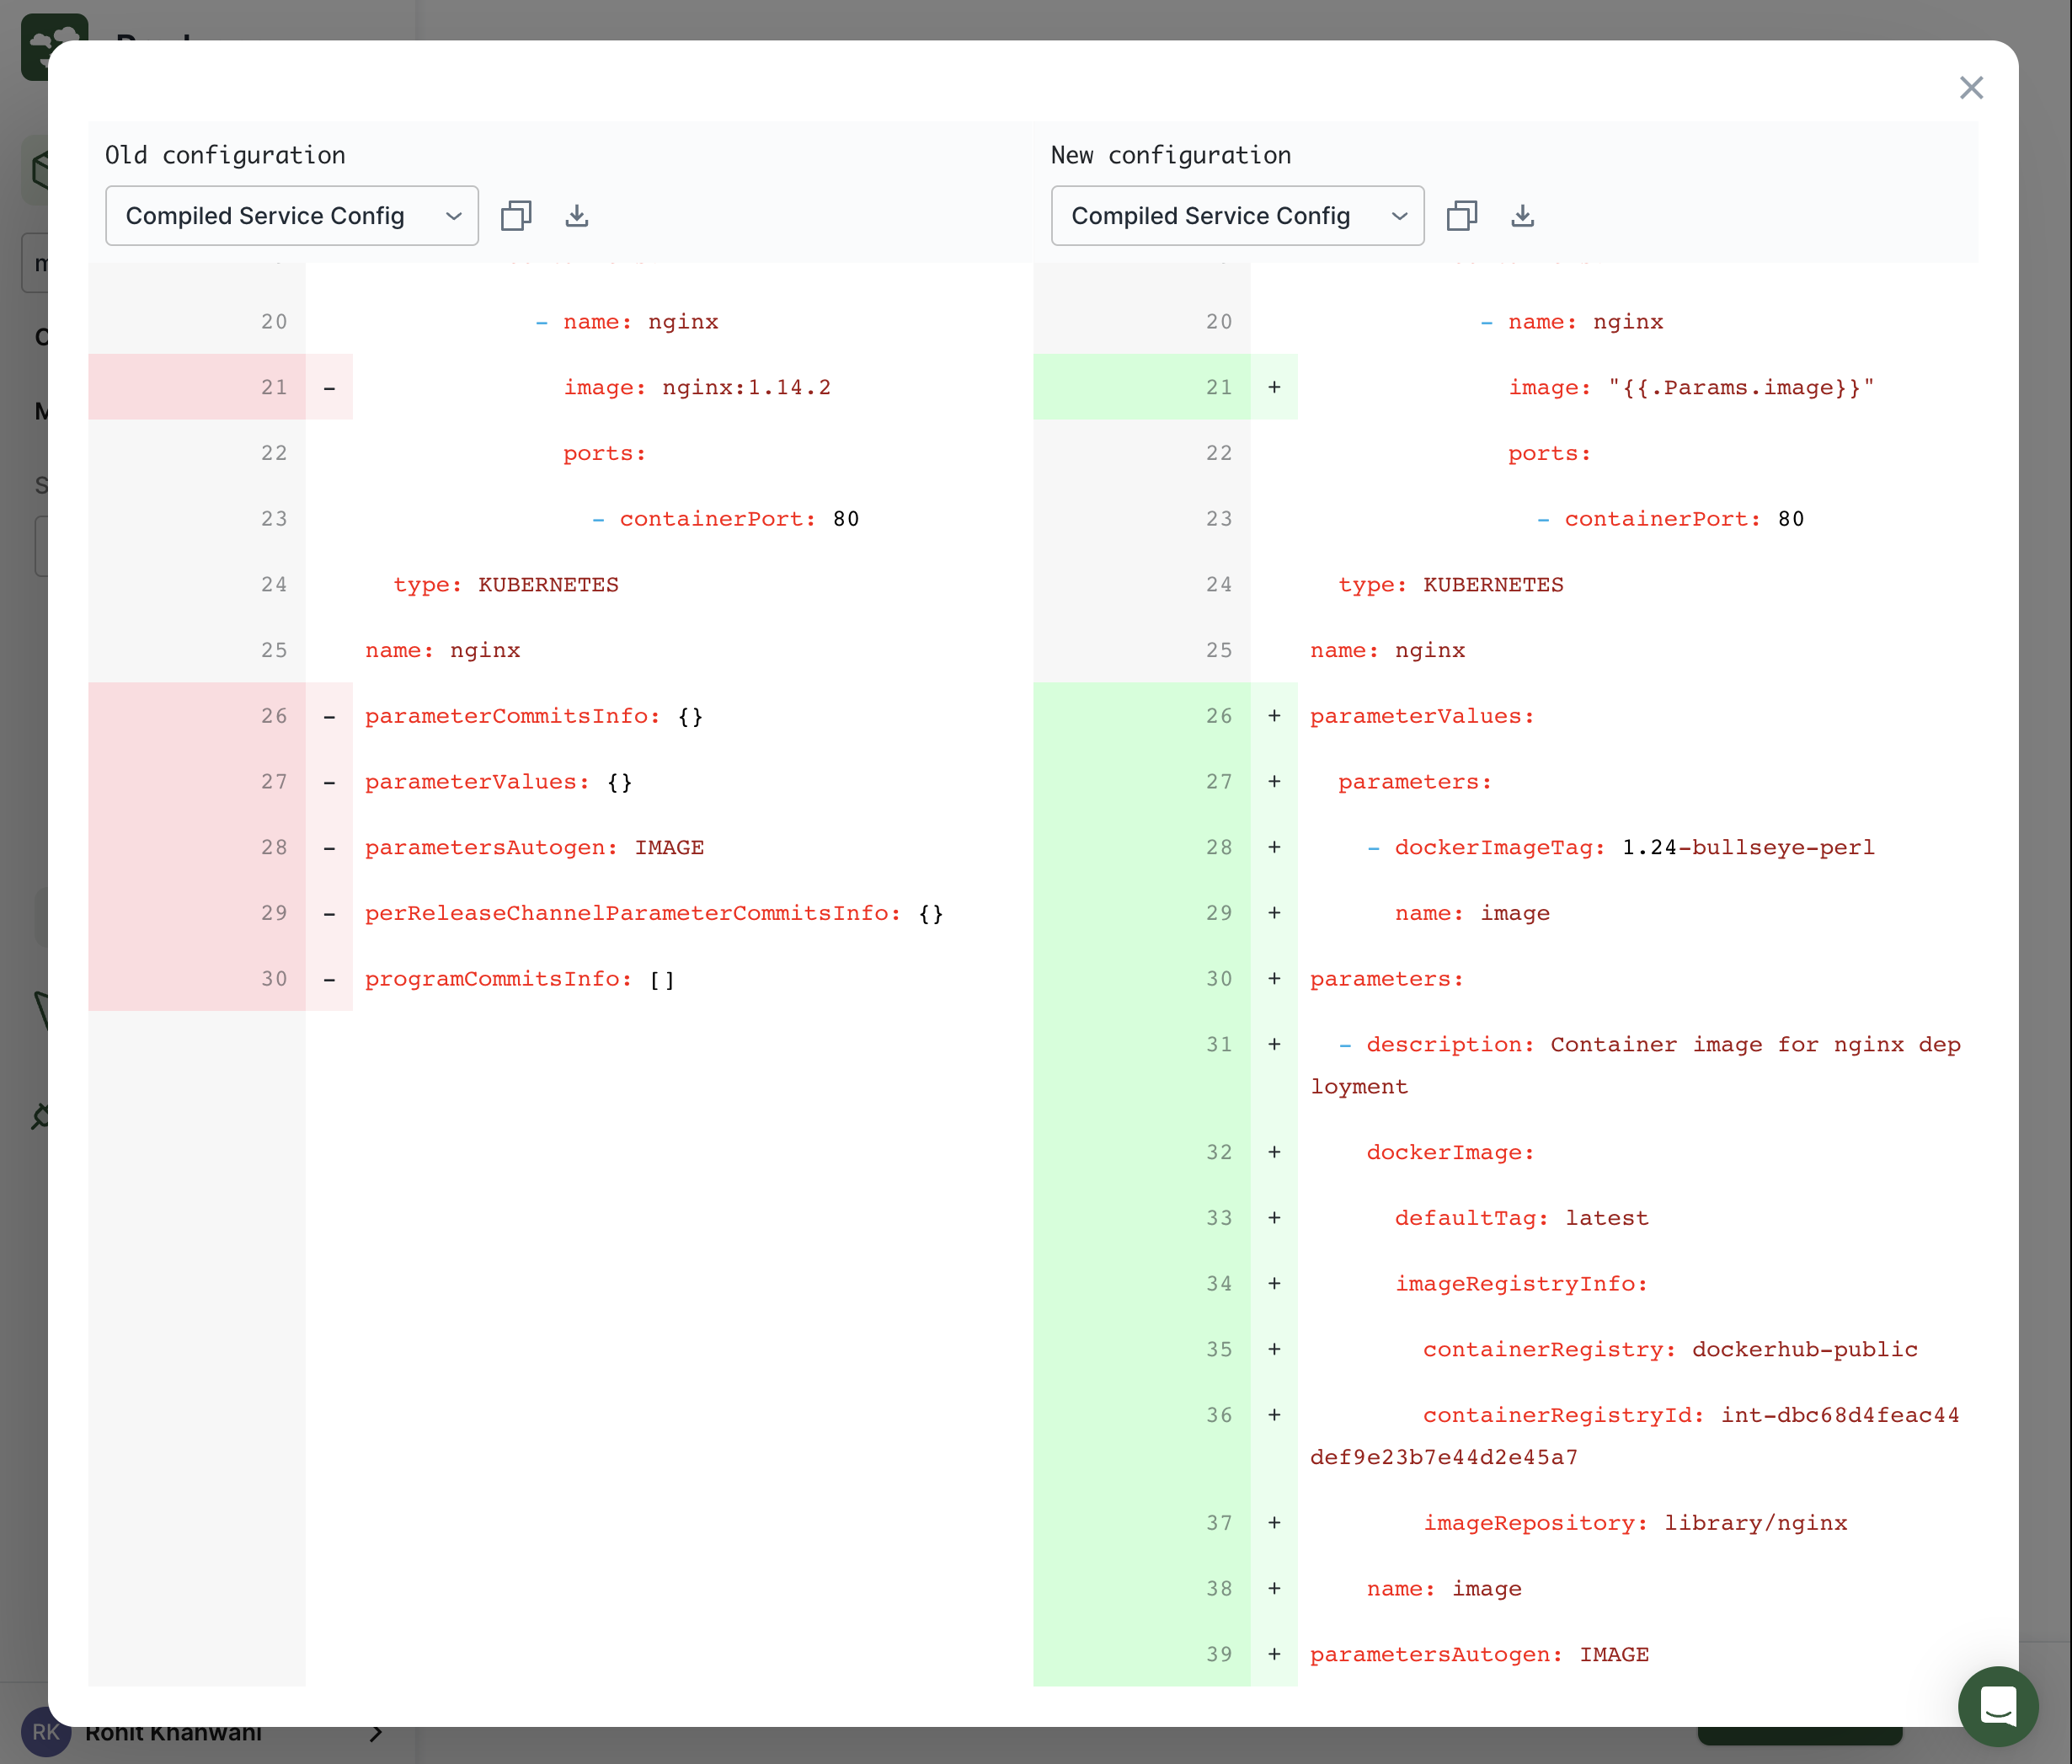
This can be achieved using parameters. Modify your nginx.pvn.yaml:
service:
  name: nginx
  application: my-app
  kubernetesConfig:
    type: KUBERNETES
    local:
      path: .
  parameters:
    - name: image
      description: "Container image for nginx deployment"
      required: true
      dockerImage:
        imageRegistryInfo:
          containerRegistry: dockerhub-public # replace with the name of the container registry integration you want to use. dockerhub-public was automatically created for you
          imageRepository: library/nginx
This defines a new parameter, image, which can be set without changing the config file. You may reference the parameter via go templating variable.{{.Params.image}}. Let's do so now in our Kubernetes configs.
apiVersion: apps/v1
kind: Deployment
metadata:
  name: nginx-deployment
spec:
  selector:
    matchLabels:
      app: nginx
  replicas: 1
  template:
    metadata:
      labels:
        app: nginx
    spec:
      containers:
        - name: nginx
          image: "{{.Params.image}}"
          ports:
            - containerPort: 80
Apply changes via the pvnctl command:
pvnctl configs apply nginx.pvn.yaml
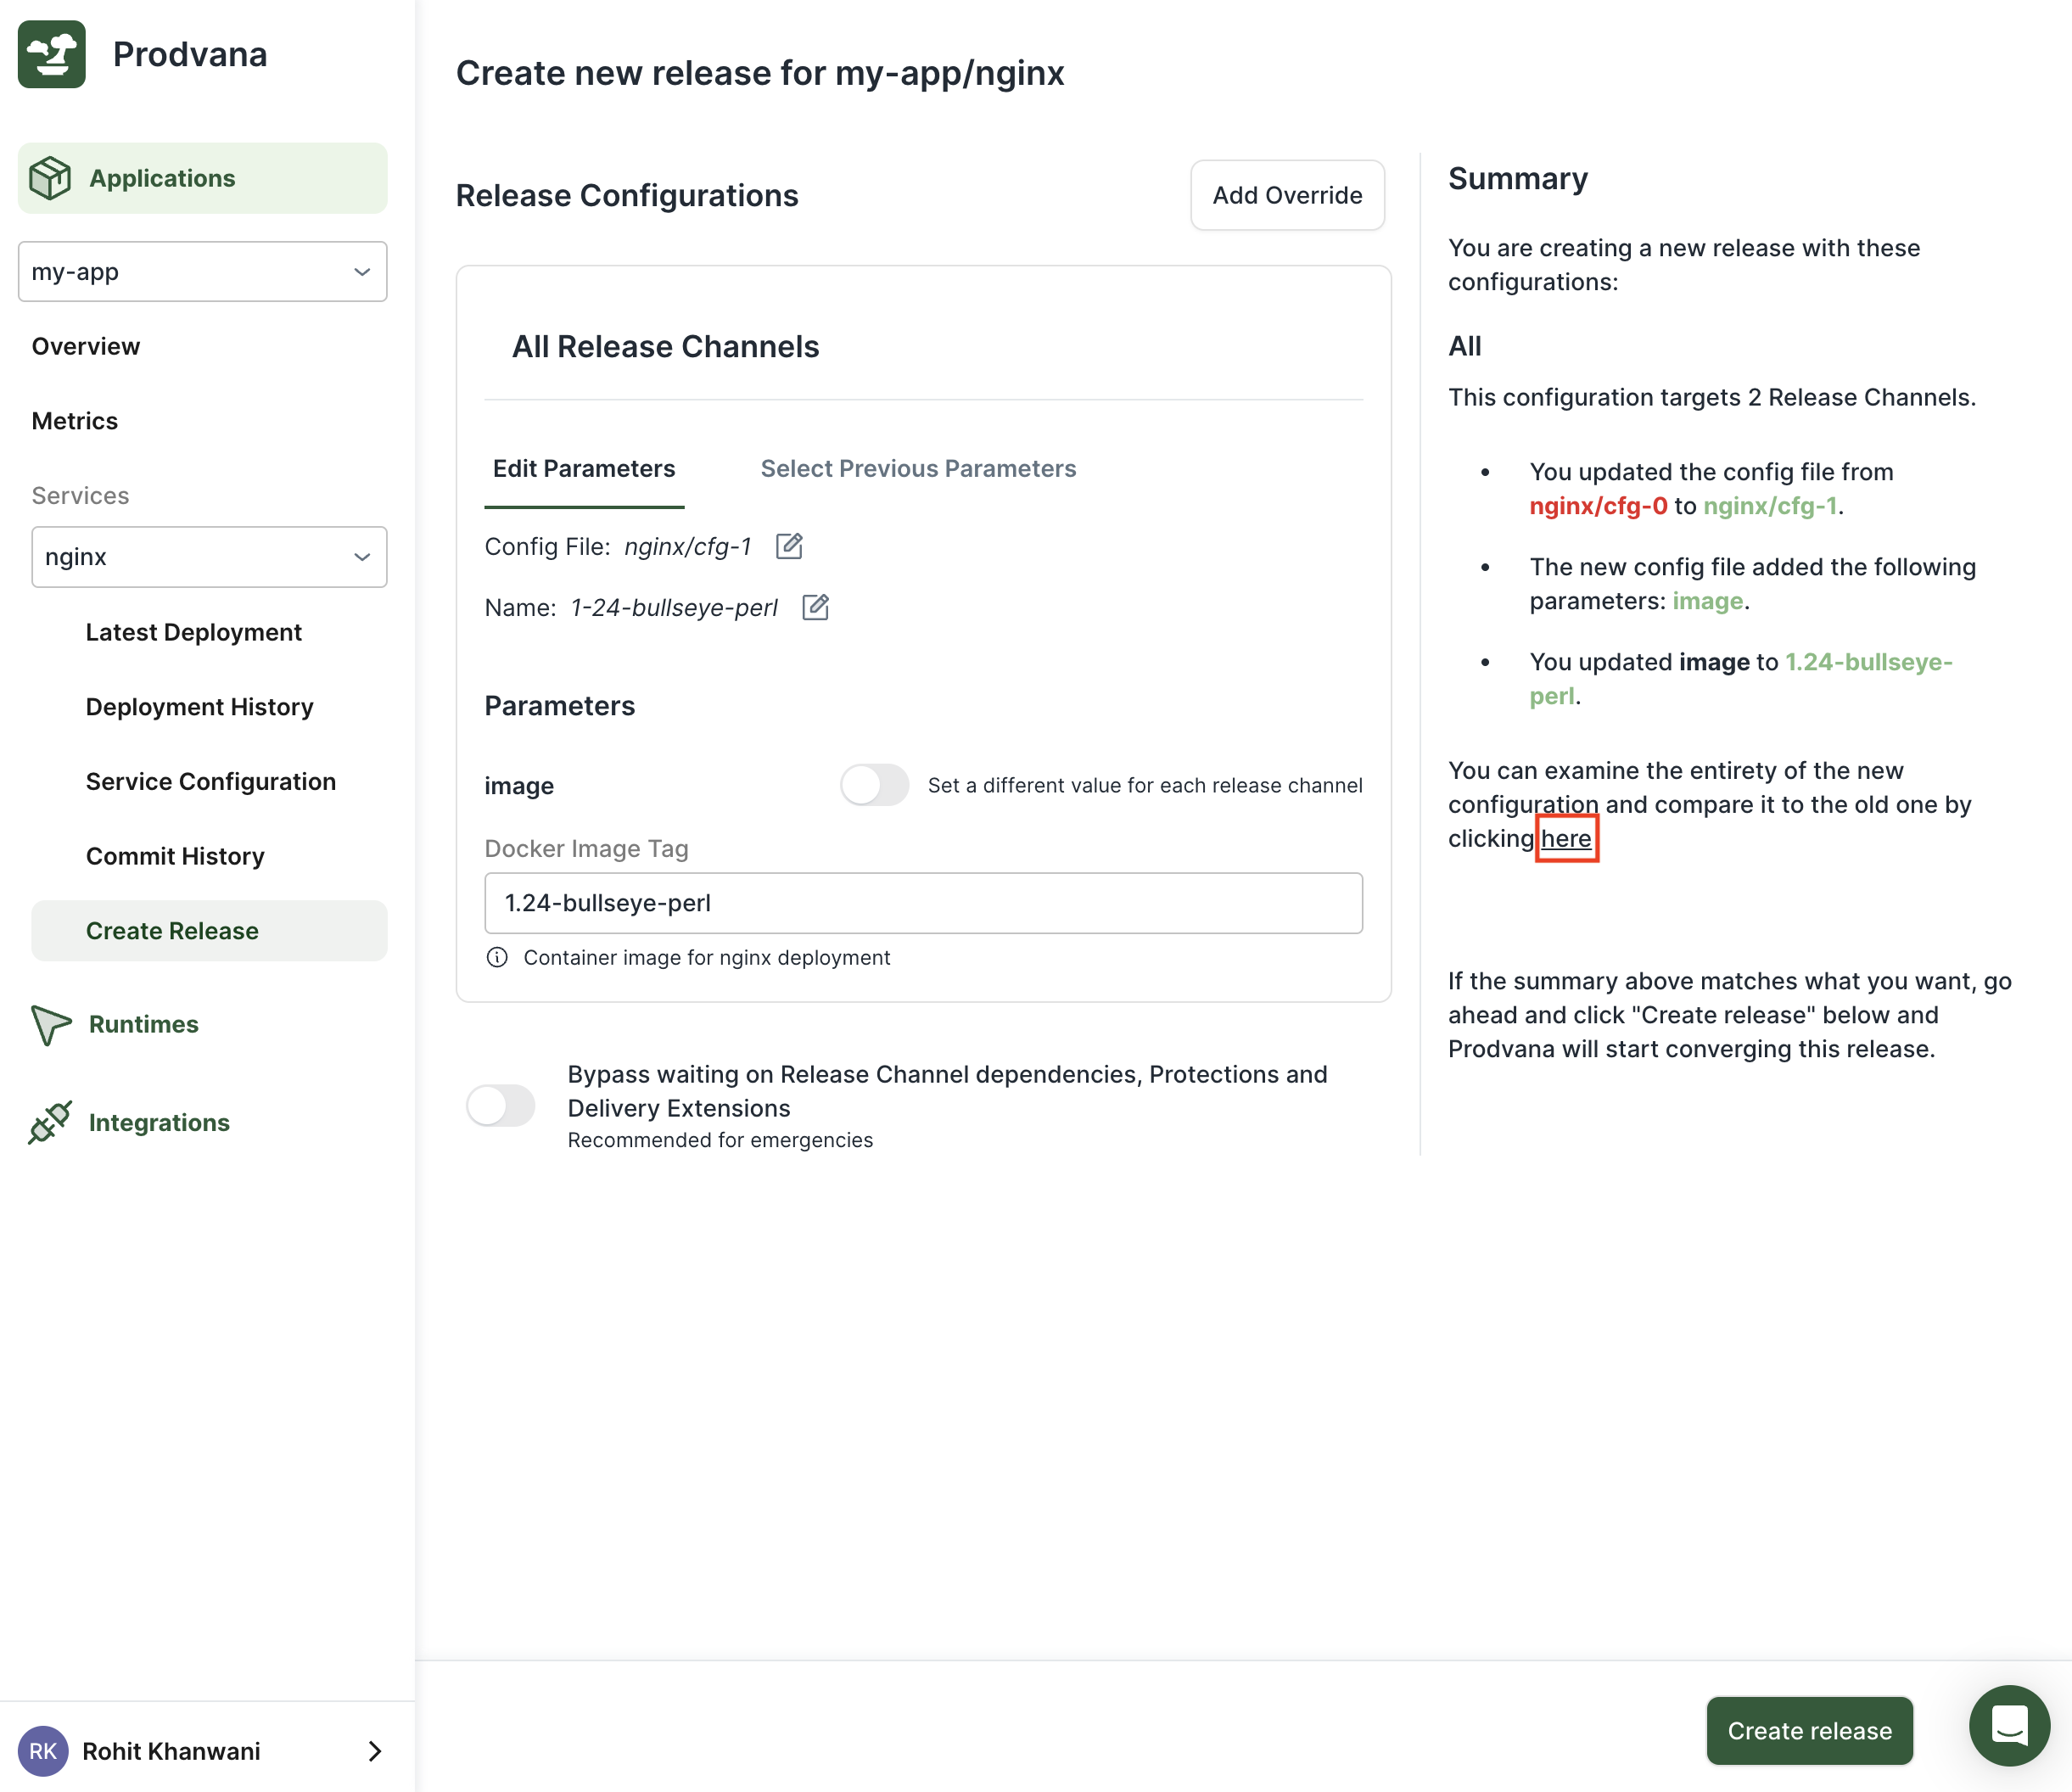
6. Deploy Again
The Release UI will now show a selector for the image that you can set as needed.
This next screen may take a little while (many minutes) to load if this is the first time you are using this Docker repository.

Updated over 1 year ago